Table of contents
- /brief
- Hardware:
- Download the Debian Image and “Burn” micro-SD card
- Boot and Flash Linux on eMMM
- SSH into your BeagleBone
- WiFi Set-up
/brief
This page resumes the procedure I went through to flash my BeagleBone Black REV C with the latest version of BeagleBone Debian and set-up a WiFi connection.
Hardware:
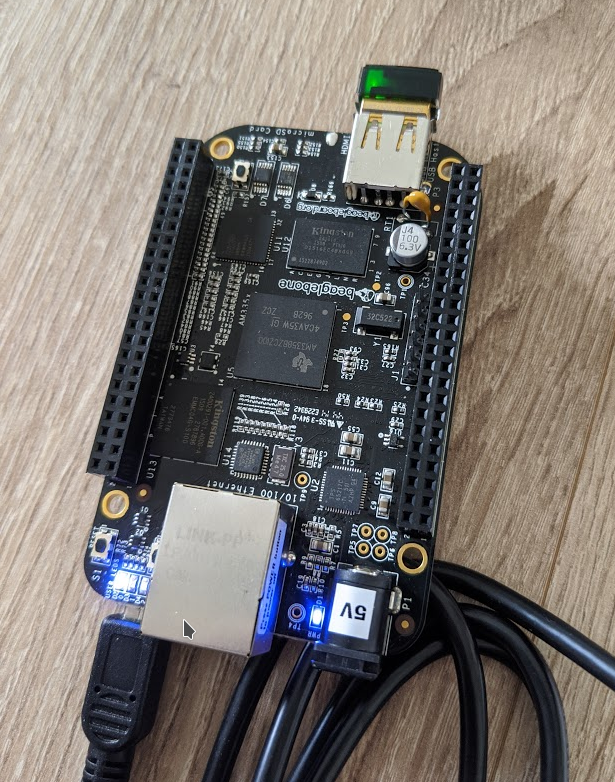
- BeagleBone Black Rev C
- Tp-Link WiFi dongle
- mini USB cable
Download the Debian Image and “Burn” micro-SD card
The BeagleBone I am using is the BeagleBone Black REV C. This board contains a on-board 4GB eMMC chip. As I want to flash it so the SD card is not required anymore fo booting Linux, I have picked the “Flasher” Debian image AM3358 Debian 10.3 2020-04-06 4GB eMMC IoT Flasher.
Download the image, get a micro-SD card and flash it using your favourite image burner (I have used Balena Etcher).
Boot and Flash Linux on eMMM
Plug the micro-SD card into your BeagleBone Black. Pressing the S2 push button of your BBB, plug the mini USB cable. Leave the S2 pressed for about 5 seconds and then release it. Right after the User LEDs will start flashing with a patern. The flashing of the eMMc started… This could take from 5 to 2 minutes. Be patient and grab a coffee.
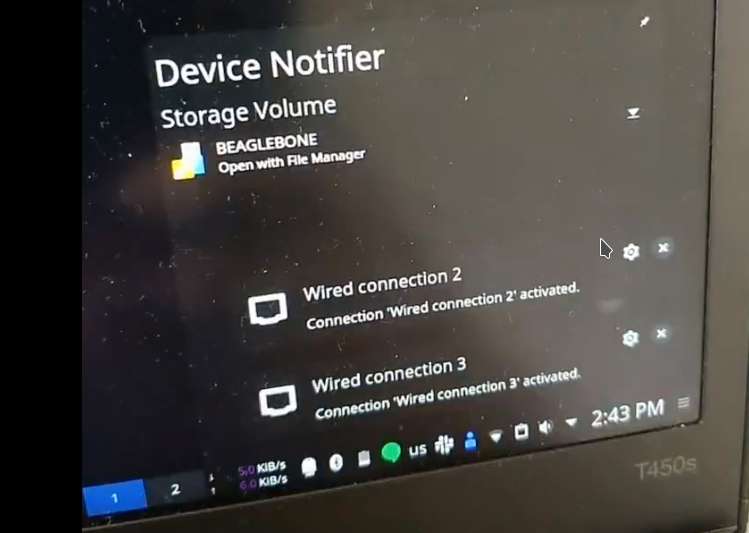
Eventually the User LEDs will stop flashing. Now unplug the mini USB cable, remove the micro-SD card and plug the mini USB again. Your BBB is now booting the Linux kernel under the eMMC. The boot process should last for about 10 seconds. Once done, there will be a “BEAGLEBONE” dir/ mounted on your host machine. If it does not show, you will need to install the serial drivers for your operating system.
SSH into your BeagleBone
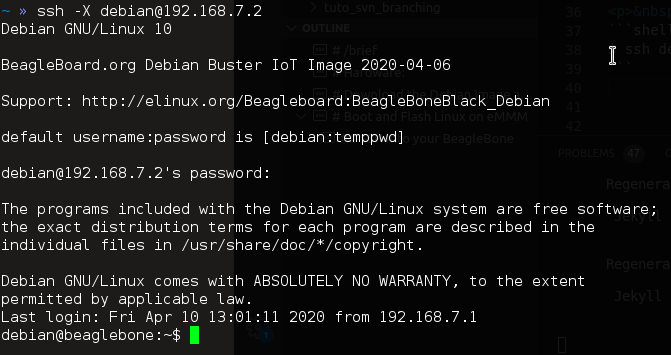
Assuming the above steps are completed, try to ssh into your board. The default IP address is 192.168.7.2. The default username is “debian” and password is “temppwd”.
$ ssh -X debian@192.168.7.2
WiFi Set-up
If you don’t have an ethernet cable lying around and easy access to a router port, you may configure the WiFi connection on your BeagleBone Black. I am using a TP-link WiFi dongle (any will do the job). To set-up the WiFi we will be using the command line Network Manager (connmanctl). Follow the instructions here.